Last updated on February 15th, 2025
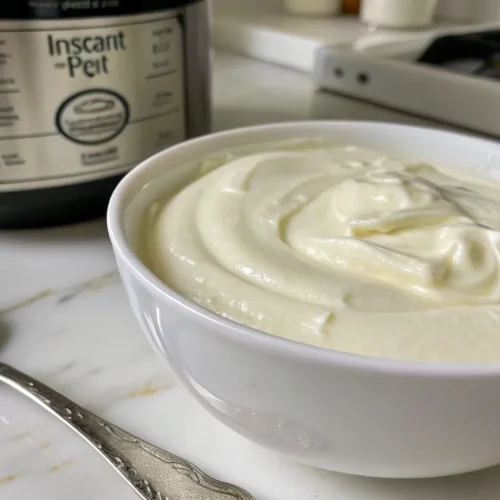
Making yogurt at home has never been easier, thanks to this Instant Pot yogurt recipe. With just a few simple ingredients and the convenience of the Instant Pot, you can create creamy, delicious yogurt that’s packed with probiotics. This Instant Pot yogurt recipe ensures consistent results, whether you’re a beginner or an experienced cook, making it the perfect addition to your healthy eating routine.
With just a few basic ingredients—milk and a starter culture—you can customize your yogurt to suit your taste, whether you prefer it thick and tangy or smooth and mild. The Instant Pot’s yogurt function simplifies the fermentation process, making it accessible for anyone who loves fresh, homemade dairy products. This Instant Pot yogurt recipe is not only cost-effective but also lets you experiment with flavors, sweeteners, and add-ins for a personalized culinary experience.
Embarking on your yogurt-making journey with this Instant Pot yogurt recipe is a rewarding way to enjoy a nutritious, homemade treat that’s free from preservatives and additives.

Why Make Yogurt with This Instant Pot Yogurt Recipe?
Using an Instant Pot to make yogurt offers numerous advantages that make the process easier, more efficient, and foolproof. This Instant Pot yogurt recipe highlights key benefits:
1. Convenience and Automation
The Instant Pot simplifies yogurt-making with its dedicated “Yogurt” function, which manages temperature control and timing automatically. This eliminates the need for constant monitoring, freeing you up for other tasks.
2. Consistency and Reliability
Traditional yogurt-making methods often involve variable conditions that can affect the outcome. The Instant Pot provides a controlled environment, ensuring consistent results with each batch.
3. Cost-Effectiveness
Homemade yogurt is significantly cheaper than store-bought options, especially if you make it regularly. With an Instant Pot, you can produce large batches for a fraction of the cost.
4. Customization
Making yogurt at home lets you tailor it to your preferences. Whether you want a thicker Greek-style yogurt, a milder flavor, or specific sweeteners and toppings, the Instant Pot gives you full control over the process.
Key Ingredients for Instant Pot Yogurt

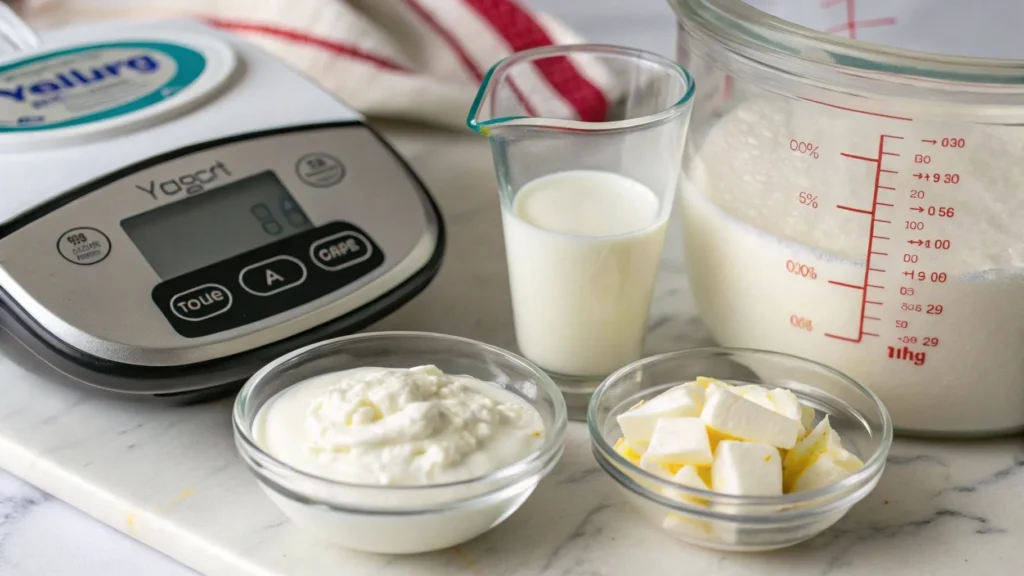
Creating delicious yogurt in an Instant Pot requires only a few essential ingredients. This Instant Pot yogurt recipe focuses on:
1. Choosing the Right Milk for Your Instant Pot Yogurt Recipe
Milk is the primary ingredient for yogurt, and the type you choose affects the final texture and flavor. Common options include:
- Whole Milk: Produces a rich and creamy yogurt.
- Low-Fat or Skim Milk: Results in a lighter yogurt, though it may be less creamy.
- Non-Dairy Milk: Options like almond, soy, or coconut milk can be used, but they may require additional thickeners and non-dairy starter cultures.
Tip: Always use pasteurized milk for safety and heat it to kill unwanted bacteria before adding the starter culture.
2. Selecting the Best Starter Culture
The starter culture contains live active bacteria that ferment the milk into yogurt. You can use:
- Store-Bought Plain Yogurt: Ensure it has live and active cultures listed on the label.
- Commercial Yogurt Starter: Available in powdered form, these are specially designed for consistent results.
Tip: If using store-bought yogurt, choose unflavored, unsweetened varieties to avoid altering the fermentation process.
3. Optional Flavorings to Customize Your Yogurt
While plain yogurt is delicious on its own, you can enhance its flavor and versatility with optional ingredients:
- Sweeteners: Honey, sugar, or maple syrup for added sweetness.
- Extracts: Vanilla or almond extract for a hint of flavor.
- Fruit: Fresh or pureed fruit to add natural sweetness and variety.
- Spices: Cinnamon, nutmeg, or cardamom for a unique twist.
Note: It’s best to add flavorings after fermentation to avoid interfering with the culturing process.
4. Thickeners for a Creamier Instant Pot Yogurt Recipe
For those who prefer extra-thick yogurt, consider using thickeners like:
- Powdered Milk: Adds creaminess and body to the yogurt.
- Gelatin or Agar-Agar: For a firmer texture.
- Cornstarch or Tapioca Starch: Helps achieve a thicker consistency, especially for non-dairy yogurt.
With just these simple ingredients, you’re ready to make fresh, creamy, and customizable yogurt in your Instant Pot.
Step-by-Step Guide to Making Yogurt in an Instant Pot
This detailed guide will help you create creamy, homemade yogurt with this Instant Pot yogurt recipe:
1. Preparing Your Equipment for This Instant Pot Yogurt Recipe
- Ingredients: Gather milk (your choice of type) and starter culture (plain yogurt with live cultures or a commercial starter).
- Equipment: Ensure your Instant Pot, utensils, and thermometer are clean to prevent contamination.
2. Heat the Milk
- Pour milk into the Instant Pot’s inner pot.
- Use the “Saute” or “Yogurt” function to heat the milk to 180°F (82°C). This kills any unwanted bacteria and helps the yogurt set properly.
- Stir occasionally to prevent scorching.
- Once it reaches the desired temperature, turn off the Instant Pot.
3. Cool the Milk
- Allow the milk to cool to 110°F (43°C), the optimal temperature for the starter culture.
- Speed up cooling by placing the inner pot in a cold water bath, stirring gently to distribute heat evenly.
4. Add the Starter Culture
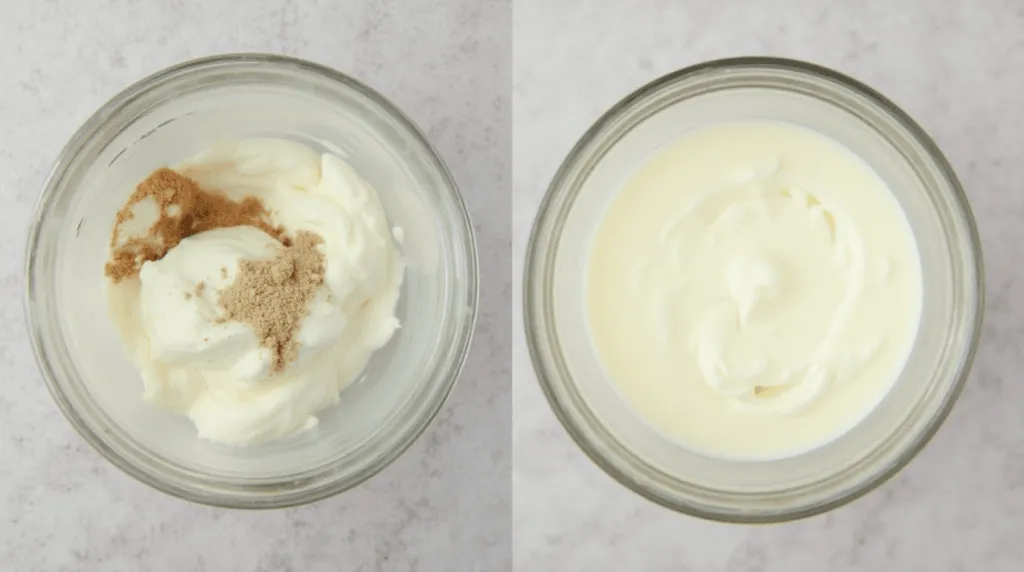
- Scoop a small amount (about 1/2 cup) of the cooled milk into a bowl.
- Mix in 2-3 tablespoons of your starter culture until smooth.
- Pour the mixture back into the inner pot and stir gently to combine.
5. Incubate the Yogurt
- Place the inner pot back into the Instant Pot.
- Close the lid (you can leave the vent open since no pressure is involved).
- Select the “Yogurt” function and set the timer for 8-12 hours, depending on how tangy you prefer your yogurt:
- 8 Hours: Mild flavor.
- 12 Hours or More: Stronger tanginess.
6. Check the Yogurt
After the incubation period, open the lid and check the yogurt:
- It should be set with a slight jiggle.
- If it appears runny, you can extend the incubation time for another 1-2 hours.
7. Chilling, Thickening, and Serving Your Instant Pot Yogurt
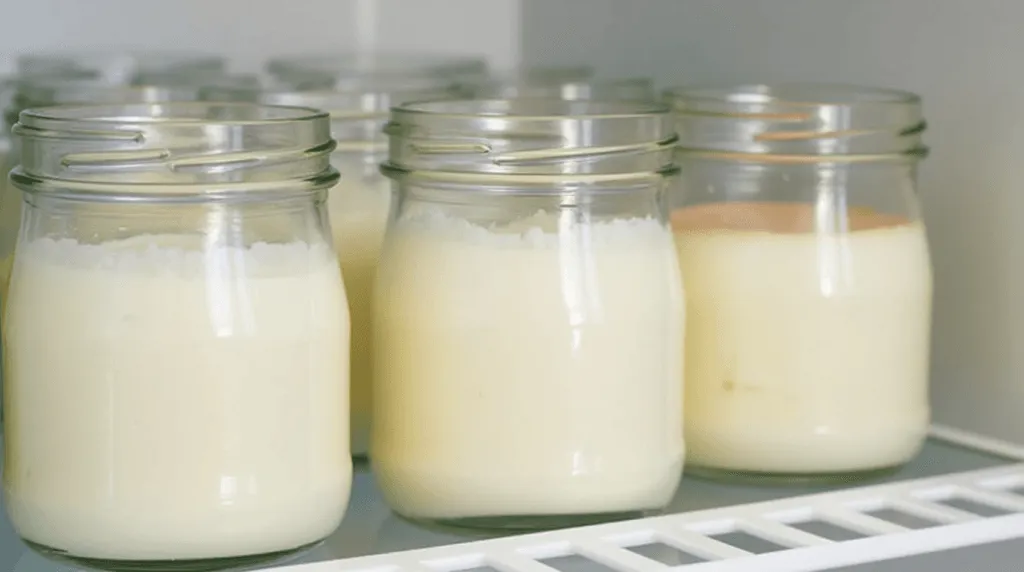
- Transfer the inner pot to the refrigerator and let the yogurt cool for at least 4 hours. This helps it firm up further.
- For thicker yogurt (like Greek yogurt), strain it using a cheesecloth or fine mesh strainer to remove excess whey.
8. Flavor and Serve
- Once chilled, you can add sweeteners, extracts, or fruit to customize your yogurt.
- Store in airtight containers in the fridge for up to 7-10 days.
Bonus Tips:
- Save a small portion of your yogurt as a starter for your next batch.
- Experiment with different milks and incubation times to find your perfect yogurt consistency and flavor.
Enjoy your homemade Instant Pot yogurt—fresh, delicious, and made just the way you like it!
Tips and Tricks for Perfect Yogurt
Making yogurt in an Instant Pot can be straightforward, but achieving the perfect batch requires attention to detail. Mastering this Instant Pot yogurt recipe involves following these tips:
1. Use Fresh Ingredients
- Always use fresh milk and a starter culture with live active bacteria.
- If your yogurt starter is old or has been frozen for a long time, its cultures may be weak, affecting the fermentation process.
2. Sterilize Your Equipment
- Ensure the Instant Pot inner pot, utensils, and any containers you’ll use are clean to prevent unwanted bacteria from interfering with fermentation.
3. Monitoring Temperatures in Your Instant Pot Yogurt Recipe
- Heating milk to 180°F (82°C) and cooling it to 110°F (43°C) is crucial for the success of your yogurt.
- Use a kitchen thermometer to get accurate readings.
4. Adjust Incubation Time for Flavor
- The longer the incubation, the tangier the yogurt. Experiment with incubation times between 8-12 hours to find your ideal flavor.
- If your yogurt isn’t tangy enough, extend the incubation by a few hours.
5. Achieve Desired Thickness
- For thicker yogurt:
- Use whole milk, or add a few tablespoons of powdered milk to the milk before heating.
- Strain the yogurt after incubation using cheesecloth or a fine mesh strainer to remove excess whey.
- Incorporate gelatin, agar-agar, or cornstarch as thickeners if needed.
6. Handle the Starter Culture Gently
- Avoid overheating the starter culture, as temperatures above 115°F (46°C) can kill the live bacteria.
- Mix the starter with milk gently to avoid disrupting the bacteria’s activity.
7. Avoid Disrupting the Incubation Process
- Resist the urge to open the Instant Pot lid during incubation, as this can disturb the controlled environment and affect the yogurt’s consistency.
8. Troubleshooting Common Issues
| Problem | Possible Cause | Solution |
|---|---|---|
| Yogurt is runny | Weak starter culture or improper incubation time | Use fresh starter and ensure proper incubation temperature. |
| Yogurt didn’t set | Milk wasn’t heated enough or improper culture | Reheat milk to 180°F, cool to 110°F, and try again. |
| Too tangy | Over-incubation | Reduce incubation time for a milder flavor. |
| Grainy texture | Milk cooled unevenly or over-stirred | Cool milk gradually and stir gently. |
| Sour smell | Contamination or poor-quality ingredients | Sterilize equipment and use fresh, high-quality milk/starter. |
With these tips, you’ll master the art of yogurt-making and consistently produce batches that are creamy, tangy, and delicious!
Different Variations of Yogurt from This Instant Pot Yogurt Recipe
One of the joys of making yogurt at home is the ability to customize it to create various types that cater to different tastes, textures, and dietary preferences. Here’s an exploration of popular yogurt variations:

1. How to Make Greek Yogurt in an Instant Pot
Greek yogurt is known for its rich, creamy texture and higher protein content.
How to Make It:
- Start with plain yogurt made in your Instant Pot.
- Strain the yogurt through a fine mesh strainer or cheesecloth for 2-4 hours to remove whey.
- The longer you strain, the thicker the yogurt becomes.
Tips: - Use whole milk for an extra creamy consistency.
- Save the strained whey for smoothies or baking.
2. Flavored Yogurt Ideas to Try
Flavored yogurt allows you to add sweetness and variety to your yogurt.
How to Flavor It:
- Fruits: Mix in fresh, pureed, or dried fruits like berries, peaches, or mangoes.
- Sweeteners: Add honey, maple syrup, agave, or sugar to taste.
- Extracts: Stir in vanilla, almond, or coconut extract for subtle flavor.
- Spices: Sprinkle cinnamon, nutmeg, or cardamom for a unique twist.
When to Add Flavors: - Add flavorings after the yogurt has finished fermenting to avoid disrupting the culturing process.
3. Dairy-Free Yogurt
Dairy-free options are perfect for those with lactose intolerance or vegan preferences.
Base Options:
- Coconut Milk: Rich and creamy, great for a yogurt-like consistency.
- Almond Milk: Lighter and less creamy but still flavorful.
- Soy Milk: Similar to dairy milk in consistency, ideal for thick yogurt.
How to Make It: - Use non-dairy milk and a dairy-free starter culture or probiotics.
- Add thickeners like agar-agar, cornstarch, or tapioca starch for better texture.
- Follow the same heating and incubation process as dairy yogurt.
4. Probiotic-Rich Yogurt
For maximum health benefits, make yogurt that’s packed with probiotics.
How to Enhance Probiotics:
- Use high-quality starter cultures with multiple strains of bacteria.
- Ferment the yogurt longer (12+ hours) for increased probiotic activity.
Tips: - Avoid overheating the yogurt during incubation to preserve the live bacteria.
Experiment and Customize
The versatility of yogurt-making means you can create endless variations to match your preferences and dietary needs. Whether you’re seeking a protein-packed snack, a dairy-free alternative, or a dessert-like indulgence, homemade yogurt offers something for everyone.
Health Benefits of Homemade Instant Pot Yogurt
Homemade yogurt is not only delicious but also packed with numerous health benefits. Unlike store-bought varieties, it is free from preservatives, artificial sweeteners, and excess sugars, offering a pure and natural alternative. Here are the top nutritional advantages of consuming homemade yogurt:
1. Rich Source of Probiotics
- Gut Health: Homemade yogurt is teeming with live and active cultures, which promote a healthy gut microbiome by replenishing beneficial bacteria.
- Digestive Support: Probiotics in yogurt help improve digestion, alleviate symptoms of irritable bowel syndrome (IBS), and support overall gastrointestinal health.
2. High in Essential Nutrients
- Calcium: Essential for strong bones and teeth, yogurt provides a significant portion of your daily calcium needs.
- Protein: Homemade yogurt, especially Greek-style, is an excellent source of high-quality protein, aiding in muscle repair and growth.
- Vitamins: It contains B vitamins, particularly B12, which support energy production and brain health.
- Minerals: Yogurt is rich in potassium, magnesium, and phosphorus, which are vital for maintaining healthy heart and muscle function.
3. How This Instant Pot Yogurt Recipe Supports Gut Health
- The probiotics in yogurt strengthen the immune system by enhancing the body’s ability to fight infections and inflammation.
- Yogurt’s vitamin D content, if fortified or from milk with naturally occurring vitamin D, further supports immunity.
4. Supports Weight Management
- Satiety: The high protein content in yogurt helps you feel full for longer, reducing the urge to snack on unhealthy foods.
- Low-Calorie Option: When made with low-fat or skim milk, yogurt becomes a nutrient-dense, low-calorie option that supports weight loss goals.
5. Improves Lactose Digestion
- Homemade yogurt is easier to digest than milk because the fermentation process breaks down lactose into simpler sugars, making it a suitable option for many with lactose intolerance.
6. Promotes Heart Health
- Regular consumption of yogurt has been linked to improved heart health due to its ability to lower cholesterol and blood pressure levels.
- Opting for homemade yogurt ensures you avoid the saturated fats and sugars present in some commercial varieties.
Homemade yogurt is a nutritional powerhouse, offering benefits for digestion, immunity, heart health, and more. By controlling the ingredients, you can ensure your yogurt is as wholesome and beneficial as possible, making it a versatile and essential part of a healthy diet.
Serving Suggestions for Your Instant Pot Yogurt Recipe
Yogurt is an incredibly versatile food that can be enjoyed in countless ways, from wholesome breakfasts to indulgent desserts. Here are some creative ideas for serving yogurt:
1. Breakfast Ideas with Instant Pot Yogurt
Yogurt Parfaits
- Layer yogurt with granola, fresh fruits (berries, mango, or kiwi), and a drizzle of honey or maple syrup.
- Add a sprinkle of nuts, seeds, or shredded coconut for extra texture and nutrition.
Smoothie Bowls
- Blend yogurt with frozen fruits and a splash of milk to create a thick smoothie base.
- Top with fresh fruit, chia seeds, and a handful of granola for a vibrant, Instagram-worthy breakfast.
2. Snack Ideas
Fruit and Yogurt Dip
- Use yogurt as a dip for sliced apples, strawberries, or bananas.
- Sweeten with honey or mix in a pinch of cinnamon for added flavor.
Veggie Dip
- Combine yogurt with herbs, garlic, and lemon juice to create a creamy, tangy dip for raw veggies like carrots, cucumbers, or bell peppers.
3. Snacks and Desserts Featuring Homemade Yogurt
Frozen Yogurt Bark
- Spread yogurt on a baking sheet lined with parchment paper.
- Top with fruits, nuts, or chocolate chips, freeze, and break into pieces for a refreshing treat.
Yogurt Cheesecake
- Use yogurt as a lighter alternative to cream cheese in cheesecake recipes for a tangy, creamy dessert.
4. Savory Options
Tzatziki Sauce
- Combine yogurt with grated cucumber, garlic, dill, and olive oil for a refreshing dip or sauce for pita bread, grilled meats, or veggies.
5. Drinks
Lassi (Indian Yogurt Drink)
- Blend yogurt with water, sugar, and cardamom for a traditional sweet lassi or add mango for a fruity twist.
6. Kid-Friendly Ideas
- Yogurt Dots: Pipe small dollops of yogurt onto a baking sheet and freeze for a fun, bite-sized snack.
- Fruit Kabobs: Alternate yogurt-dipped fruit pieces and marshmallows on skewers for a colorful, healthy treat.
Whether you’re looking for a nutritious breakfast, a quick snack, or a decadent dessert, yogurt can be the centerpiece of endless creative and delicious dishes. Customize these ideas to suit your taste and dietary preferences for a versatile, wholesome treat.

Storage and Shelf Life of Yogurt Made with This Instant Pot Yogurt Recipe
Proper storage is key to maintaining the freshness, flavor, and quality of your homemade yogurt. Follow these best practices to store yogurt effectively and extend its shelf life:
1. Use Airtight Containers
- Transfer yogurt to clean, airtight containers immediately after it has cooled.
- This prevents contamination and reduces the risk of absorbing odors from other foods in the refrigerator.
2. Refrigeration is Essential
- Store yogurt in the refrigerator at a temperature of 36°F to 40°F (2°C to 4°C).
- Avoid placing it in the refrigerator door, where temperature fluctuations are higher.
3. Shelf Life of Homemade Yogurt
- Freshness Window: Homemade yogurt typically stays fresh for 7-10 days in the fridge.
- If it smells sourer than usual or shows signs of mold, it’s best to discard it.
4. Avoid Cross-Contamination
- Use clean utensils when scooping yogurt from the container to prevent introducing bacteria that can spoil the yogurt faster.
- Avoid returning unused portions to the original container.
5. Freezing Yogurt
- Yogurt can be frozen to extend its shelf life to 1-2 months. However:
- Texture Change: Freezing may alter the texture, making it grainier or watery when thawed.
- How to Use Thawed Yogurt: Use thawed yogurt for smoothies or baking, where texture is less critical.
- To freeze yogurt, portion it into small containers or ice cube trays for easy use.
6. Save Starter Yogurt
- If you plan to use your yogurt as a starter for the next batch, reserve a portion (about 1/4 cup) within the first 5-7 days of refrigeration. This ensures the cultures remain active and effective.
7. Keep it Covered
- Covering yogurt with a tight lid or plastic wrap prevents it from drying out and forming an unpleasant skin on the surface.
8. Avoid Frequent Temperature Changes
- Minimize the time yogurt spends out of the fridge. Always return it promptly after use to maintain its freshness and prevent bacterial growth.
9. Check for Signs of Spoilage
- Appearance: Discard yogurt if you see mold or discoloration.
- Smell: An off or unpleasant smell is a clear indicator that yogurt has gone bad.
- Texture: While some separation of whey is normal, excessive wateriness or curdling can indicate spoilage.
10. Label and Date
- Label containers with the preparation date to track freshness easily.
- This is especially helpful if you make yogurt in large batches.
By following these storage tips, you can maximize the shelf life and quality of your homemade yogurt. Proper care ensures that it remains safe, fresh, and delicious, allowing you to enjoy it for up to a week or longer.
FAQs About Instant Pot Yogurt
Making yogurt in an Instant Pot can raise many questions, especially for beginners. Here are answers to some of the most frequently asked questions to help you achieve yogurt-making success:
1. Do I Need a Specific Instant Pot Model to Make Yogurt?
Not all Instant Pot models have a “Yogurt” function. Check your model to confirm if it includes this feature. If not, you can still make yogurt manually by maintaining the right temperatures using the sauté or keep-warm functions.
2. Can I Use Non-Dairy Milk?
Yes, you can use non-dairy milks like almond, coconut, or soy milk, but they may require additional thickeners like agar-agar, cornstarch, or tapioca starch to achieve a creamy texture. Also, ensure your starter culture is dairy-free.
3. Do I Have to Boil the Milk First?
Boiling is necessary if you’re using raw or pasteurized milk to kill unwanted bacteria and help the yogurt set properly. However, if using ultra-pasteurized milk, this step can be skipped because it’s already been heat-treated.
4. How Much Starter Yogurt Should I Use?
Use about 2-3 tablespoons of starter yogurt per quart (4 cups) of milk. Too much starter can make the yogurt tangy or grainy, while too little may result in a weak culture.
5. Can I Use Flavored Yogurt as a Starter?
It’s best to use plain, unsweetened yogurt with live and active cultures as a starter. Flavored yogurts may contain additives that can interfere with the fermentation process.
6. How Long Should I Incubate the Yogurt?
Incubation times range from 8-12 hours, depending on how tangy you want your yogurt:
8 Hours: Mild flavor.
10-12+ Hours: Tangier yogurt.
Longer fermentation also increases probiotic content.
When crafting your Instant Pot Yogurt recipe article, consider enriching its content with internal links to other relevant recipes on Value Recipe. For instance, when discussing pairing yogurt with baked goods, link to the Earl Grey Cookies recipe to inspire readers with a complementary treat. If highlighting yogurt as a healthy snack, the Pumpkin Banana recipe offers a nutritious and flavorful companion. Additionally, you can tie the versatility of yogurt to meal prep by referencing the Burger Bowl recipe, showcasing it as a creamy dressing option. These links provide value by connecting readers to additional recipes and ideas while enhancing site navigation and engagement.
Understanding the nuances of yogurt-making in an Instant Pot ensures consistent success and helps you troubleshoot common issues. Whether you’re experimenting with flavors, adjusting tanginess, or trying non-dairy options, the process is as versatile as it is rewarding!


Instant Pot Yogurt Recipe: Easy, Creamy, and Homemade
Ingredients
- ½ gallon 8 cups whole milk (or 2% milk for a lighter version)
- – 2 tablespoons plain yogurt with live active cultures as a starter
- – 1 teaspoon vanilla extract optional, for flavor
- – 2 tablespoons honey or sugar optional, for sweetness
Instructions
- **Heat the Milk:**
- – Pour the milk into the Instant Pot and select the “Yogurt” function, then press “Adjust” until it reads “Boil.”
- – Heat until the milk reaches 180°F (82°C).
- **Cool the Milk:**
- – Turn off the Instant Pot and let the milk cool to 110°F (43°C).
- – Speed up the cooling process by placing the inner pot in a cold water bath.
- **Add the Yogurt Starter:**
- – In a small bowl, mix the yogurt starter with 1/2 cup of cooled milk.
- – Stir it back into the Instant Pot.
- **Incubate the Yogurt:**
- – Select the “Yogurt” function and set the timer for 8-10 hours.
- – The longer it incubates, the tangier the yogurt will be.
- **Chill & Serve:**
- – Once the incubation is complete, refrigerate the yogurt for at least 4 hours to thicken.
- – Stir in vanilla extract or sweeteners if desired.
Notes
Conclusion
Making yogurt at home is a rewarding and easy process with this Instant Pot yogurt recipe. Whether you’re preparing Greek yogurt, dairy-free yogurt, or experimenting with flavors, this guide ensures success every time. Dive into this Instant Pot yogurt recipe today and enjoy fresh, healthy, and delicious homemade yogurt.
Homemade yogurt is not only cost-effective but also healthier, free from preservatives, artificial sweeteners, and unnecessary additives found in store-bought varieties. It’s a nutrient-rich food packed with probiotics, calcium, and protein, making it an excellent choice for breakfast, snacks, or even desserts.
Whether you’re a seasoned cook or a beginner, the Instant Pot empowers you to experiment with different styles like Greek yogurt, dairy-free options, and creative flavor combinations. By mastering the process, you’ll enjoy a fresh, wholesome treat that supports both your health and culinary creativity.
Dive into the world of Instant Pot yogurt today and transform this kitchen staple into a versatile, homemade delight!
